Advertisements
There’s a rule about keeping things clean: do it often and you’ll never have to work hard at it. Unfortunately, not all of us love cleaning which is why you’re reading this now. It turns out we’ve been putting it aside for so long and now the time has finally arrived. We MUST clean our kitchen.
Deep cleans can be overwhelming or intimidating but we’ll break it down to make it as easy as possible. You’ll appreciate how this one time process will set you on your way to regularly cleaning in the future.
Gather Your Supplies
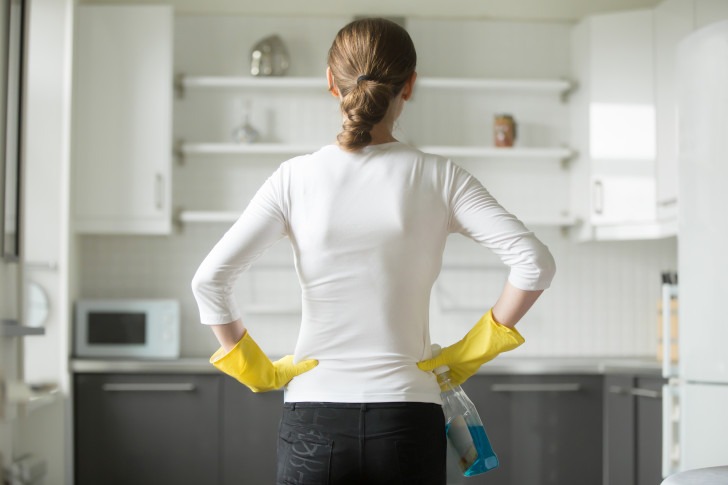
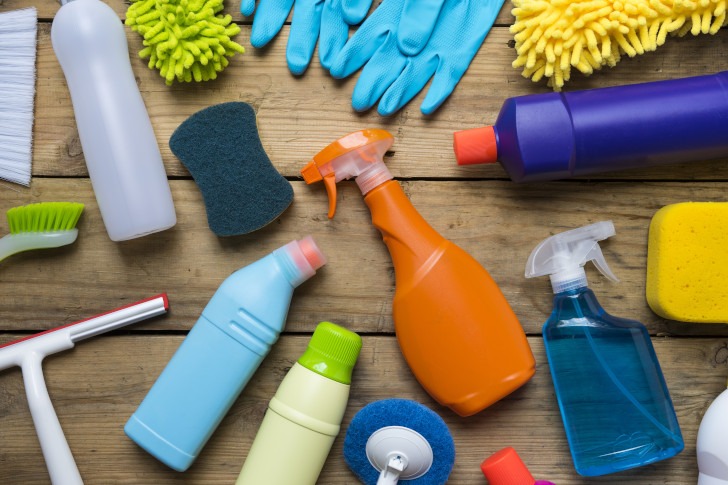
If we’re going to deep clean our kitchens, we’re going to need the right equipment. The days of wet-wipes are over – we’re going professional over here! You’ll need all the essentials: an all-purpose cleaner, a long-handled duster, and a powdered scrub.
 Shutterstock
As well as the physical items, we should also consider vinegar, dish soap, and baking soda. These will help us keep things fresh along the way. Also, make sure you have enough bin bags to keep things in order.
Pick Your Playlist
You have to assume that the deep clean will take at least an hour – do you have your music sorted? It’s the perfect time to make sure you can find the right album for you. If you use streaming services like Spotify, then they can create the perfect playlist for the occasion!
 Shutterstock
A lot of people are using this time to explore other kinds of content, like Podcasts. These can vary from short stories to long form debates. Get exploring and make sure you pick something that’s right for you.
Work Your Way Down
Before we get down and dirty to scrubbing the floors and table surfaces, we’re going to want to reach high as much as we can and work our way down to the floor. The reason for this is purely logical: you can expect to make a mess!
 Shutterstock
Why would we clean our stoves only to have dust fall onto them from our cupboards? By starting the clean from high areas, you won’t have to worry about any falling dust.
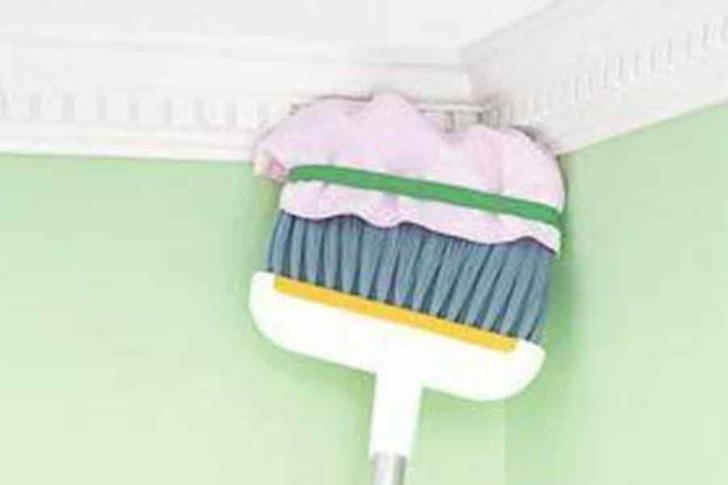
Clean The Upper Trim
These are often the parts of our home that we completely forget about. However, if you don’t dedicate some time to them then they’ll likely cause a headache in the future. So, here’s the best way to clean the upper trim.
 Shutterstock
Use a duster to sweep around the ceiling to remove any dust or cobwebs that might have gathered over time. Then, attach a wet wipe and make sure you gently apply some soap to it. Just make sure it won’t ruin any paint jobs!
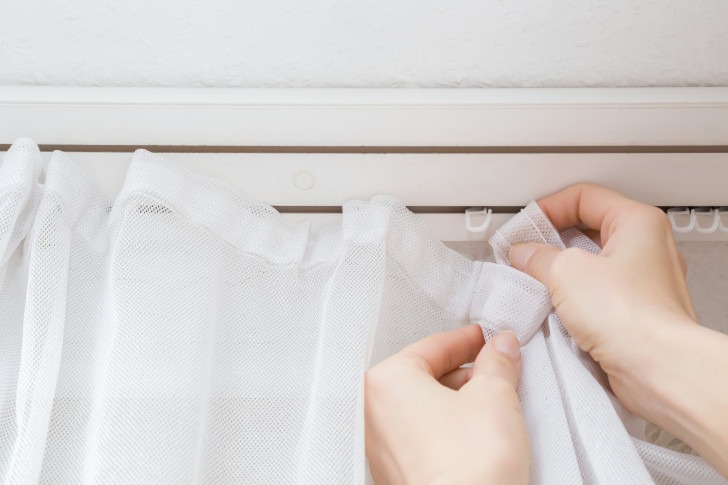
Remove and Clean Curtains
We bet most people don’t do this until they’ve completely moved in or out of a home. However, cleaning the curtains is an essential part of the deep clean process due to the germs that can settle on them over time.
 Shutterstock
So, make sure you carefully and safely remove them from their poles and put them in the washing machine if possible. You might have to send them to the dry cleaners, so be sure to check their instructions.
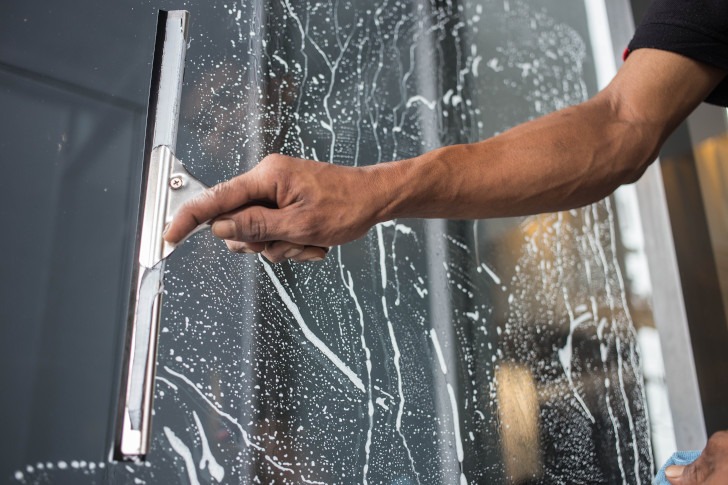
Clean The Windows
Once you’ve removed your curtains, you’ll have easy access to the windows. Careful – you might not realize how dirty they actually were! Once you get a good look at the damage, grab some cleaning products and get going.
 Shutterstock
Make sure to not miss any spots – we have the windowsill, the glass, and the frame to get. It’s also important to consider the type of cleaner you use: some will leave watermarks and it’s better to avoid it.
Empty And Clean The Cabinets
This is definitely one of the most daunting aspects of a deep clean, but don’t fear! You’ve come this far we can definitely go a little farther. First, you’re going to want to make sure there’s a space to keep all your cabinet items.
 Shutterstock
Once you’ve carefully emptied all the cupboards, wipe and clean down each shelf. We can also use this opportunity to rearrange and tidy the cabinets into even more efficient spaces once you return the items.
Clear The Pantry
Of course, this is only relevant if you have a pantry! For those of us who have one in our homes, we would adopt the same strategy to our pantries as we would our cupboards and cabinets. The only problem? It’s on a much larger scale.
 Shutterstock
As well as the cupboard surfaces, you also need to reach the tougher spots, such as draws, walls, shelves, or nets. You can also take this opportunity to rearrange the items, too!
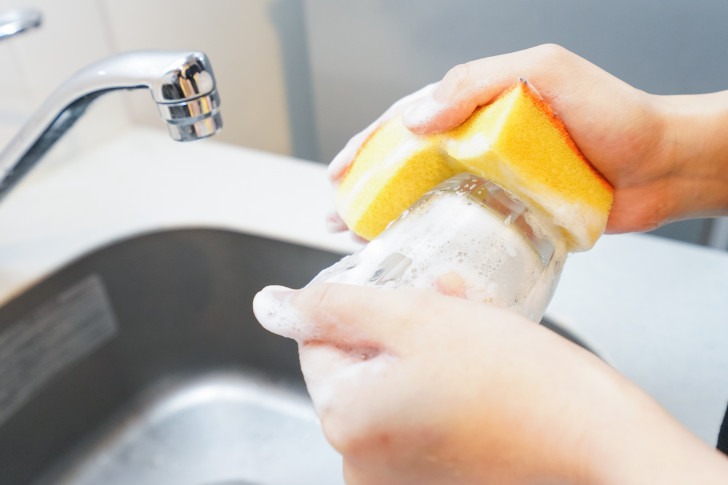
Clean The Dishes
If you don’t have a dishwasher, then you are the dishwasher. For those who live alone or with a partner, the dishes aren’t bad. But if you’re a large family then these can definitely stack up over time.
 Shutterstock
Ideally, you want to do the dishes soon after you’ve just cleaned the cupboards in which you’re keeping them. If not, then there’s always a good time to give them a good scrub and leave them out to dry.
Head To The Stainless Steels
Now we’re getting to the fun stuff. There are plenty of stainless steel items in the kitchen that will need your attention. These could be anything from surfaces, appliances, or cutlery. All you need to do is apply some Windex or general cleaner.
 Pinterest
Just take a cloth and gently rub it on the items that need cleaning. Sometimes you can even get one of those bottles that has a spray – it makes it more fun!
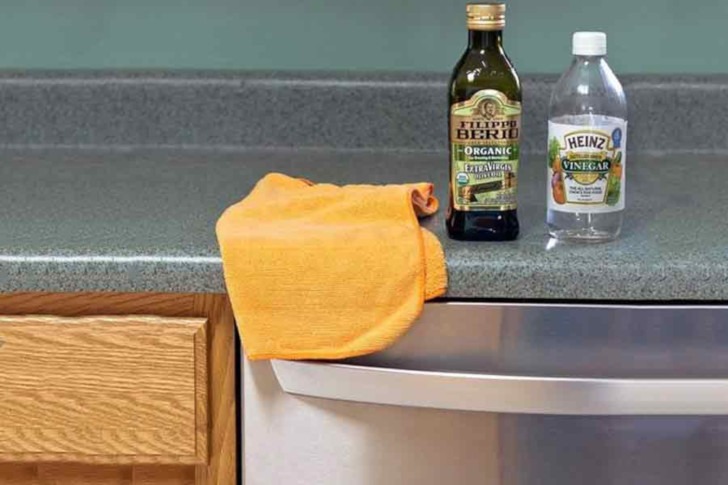
Clean The Walls
We’ve touched on almost all the aspects of the kitchen, except for this one – the walls! Depending on how they’ve been decorated, you can clean the walls with a damp cloth. Be careful if it’s wallpaper or paint, though!
 Shutterstock
You can use all-purpose cleaner to make sure all the dust and grease is removed. Once you’ve applied the right spray to the right surface, let it rest for a while and then see it get cleaner in just a few minutes.
Scrub and Polish The Sinks
This one can be done after cleaning the dishes, but we understand if you want a bit of a break between the chores. Most sinks work perfectly well when they’re cleaned with dish soap or multi-purpose cleaner.
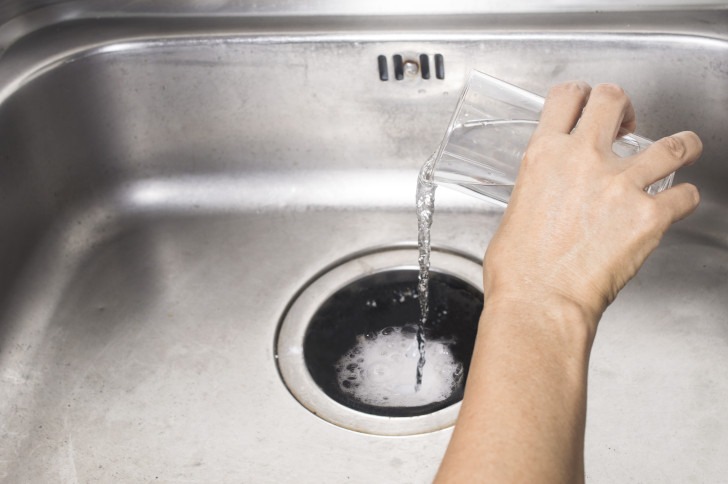 Shutterstock
For porcelain sinks, you can even use bleach and paper towels to get that extra clean effect on them. Of course, don’t do that for any other kind of sink! Make sure you get all the extra bits that might be hidden around the edges.
Clean The Microwave
We use our microwaves for many things, so it makes sense that they would become full or germs along the way. When you’re finished with the other appliances, you’ll want to take a stab at cleaning this wonder machine.
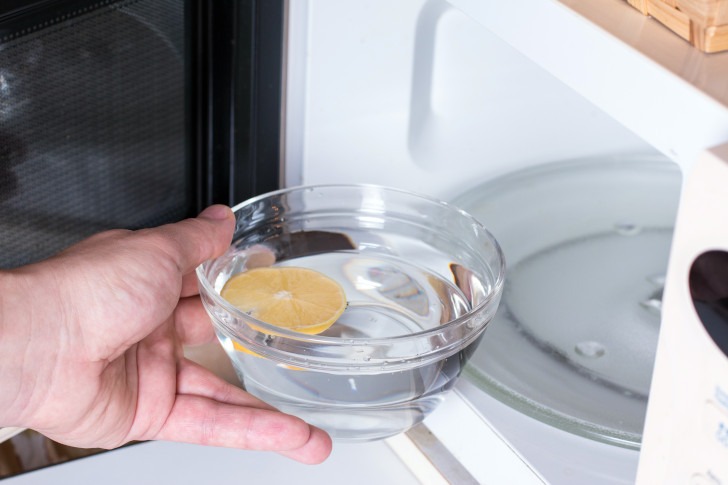 Shutterstock
Getting your microwave clean is easy: simply take a bowl and fill it with water. Then, add a tablespoon of white vinegar (or lemon juice) and pour it in. Zap it for five minutes and it’ll help with loosening some of the stuck food on the sides. Don’t forget to wipe down the outside, too.
Range Hoods And Filters
We’re diving deeper and deeper into the depths of our kitchens, now! With the range hoods and filters, you’ll want to dedicate some special attention. Since they’re designed to collect grease, they can become incredibly dirty over time.
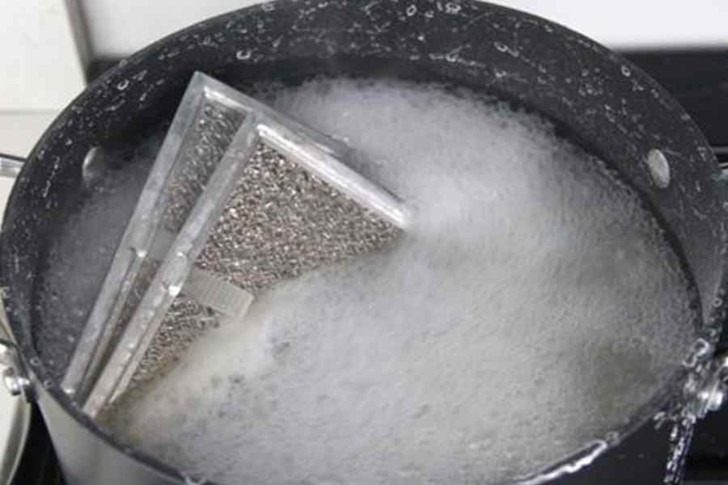 Pinterest
The best way to clean these is to completely submerge them in hot (but not boiling) water mixed with soap and baking soda. After 10 minutes, rinse them off with water and replace them. Easy! If you haven’t done this before, the first time might be a little gross.
Clean The Stove Top
Depending on what kind of stove top you have, you’ll need to clean it in a different way. For electric stoves, these can be easily wiped with soapy water and dried with paper towels. Gas stoves require a bit more attention to detail due to their moving parts.
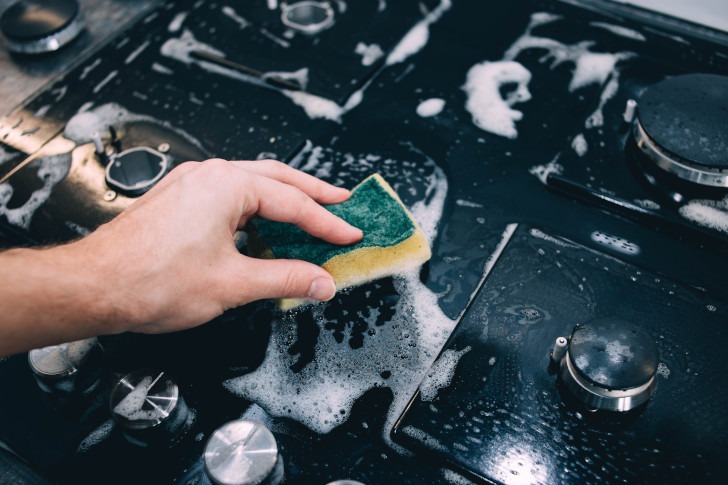 Shutterstock
Carefully remove the knobs and grates from their place and clean them with clothes and soapwater. You might need to degrease them, too. Then, make sure to put them back in the same place.
Clean The Oven
Cleaning your oven is similar to the microwave, but with a few small differences. First, preheat the oven to around 200 degrees. Then turn it off (important!) before you go into it. Now you’re ready to put your ammonia and water in it!
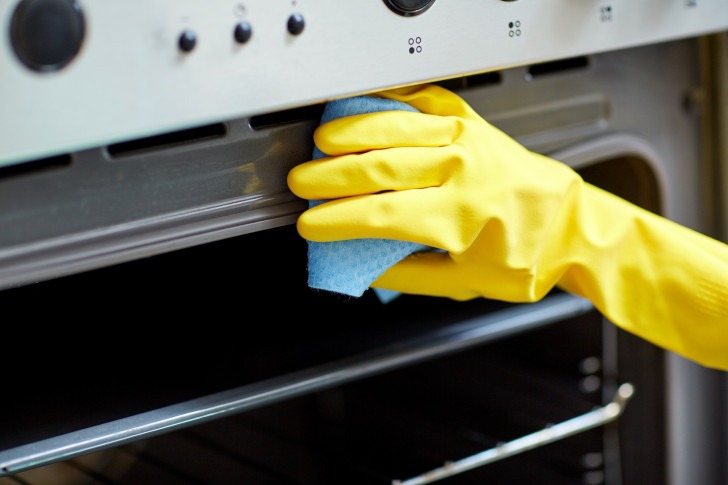 Shutterstock
Leave some in there overnight and get back to it in the morning. When you wake up, wipe the oven out with a sponge with baking soda. The best part of this process is it cleans while you sleep!
Don’t Miss The Coffeemaker
Next up, you might want to think about having a break from all this cleaning. Well, you better have a tea and not a coffee – since this is what we’re cleaning next! To clean the coffeemaker, you’ll need to fill a pot with three cups of white vinegar and six cups of cold water. Then, you brew it just like you would a coffee.
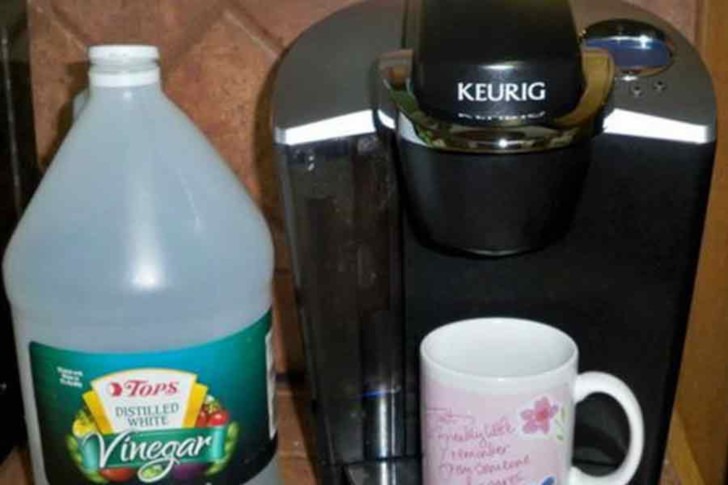 Pinterest
Next, you’ll need to get rid of the taste of the vinegar, so do it again two more times with just water. Finally, scrub the carafe out and it’ll be good as new!
Don’t Forget The Freezer!
First, you’ll need to completely unplug the freezer and make sure it warms up. That means you’ll need to plan just how much food you’re willing to sacrifice before it goes bad. Since it acts as a storage place, you’ll want to throw out any food that’s been there for too long.
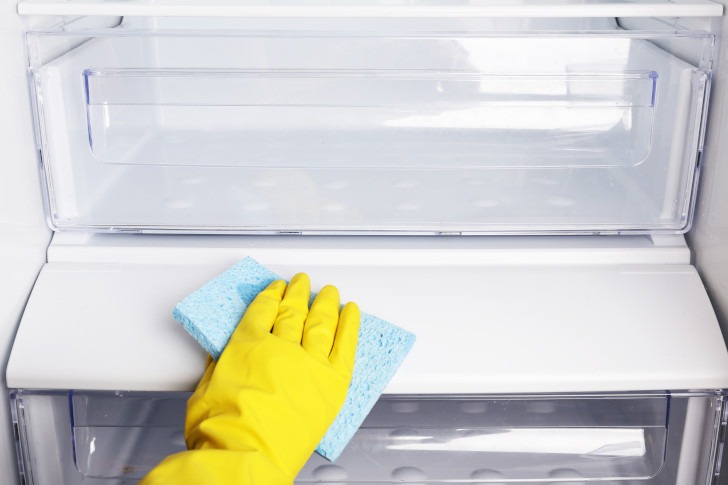 Shutterstock
Then, remove and scrub each shelf. Thankfully, the freeze won’t have any bacteria or gross mouldy foods, but you’ll still want to make sure you wipe it down every so often.
Then Move To The Fridge
This one is a little more flexible than the freezer, so feel free to start with this one. You can either rearrange you food to take out one shelf at a time, or you can empty the fridge completely and do it all at one. It depends how much you have in there!
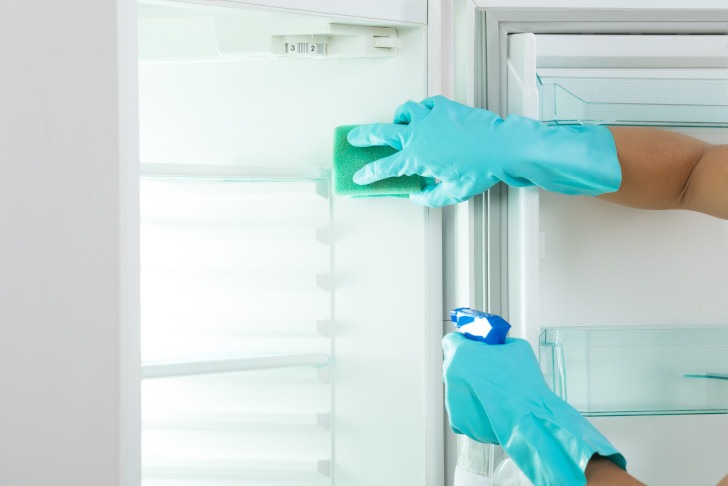
Cleaning your fridge is a good time to consider your condiments and clear out any unwanted items from there. Then, put back the items you want and you’re finished!